Friday, October 30, 2020
Thursday, February 20, 2014
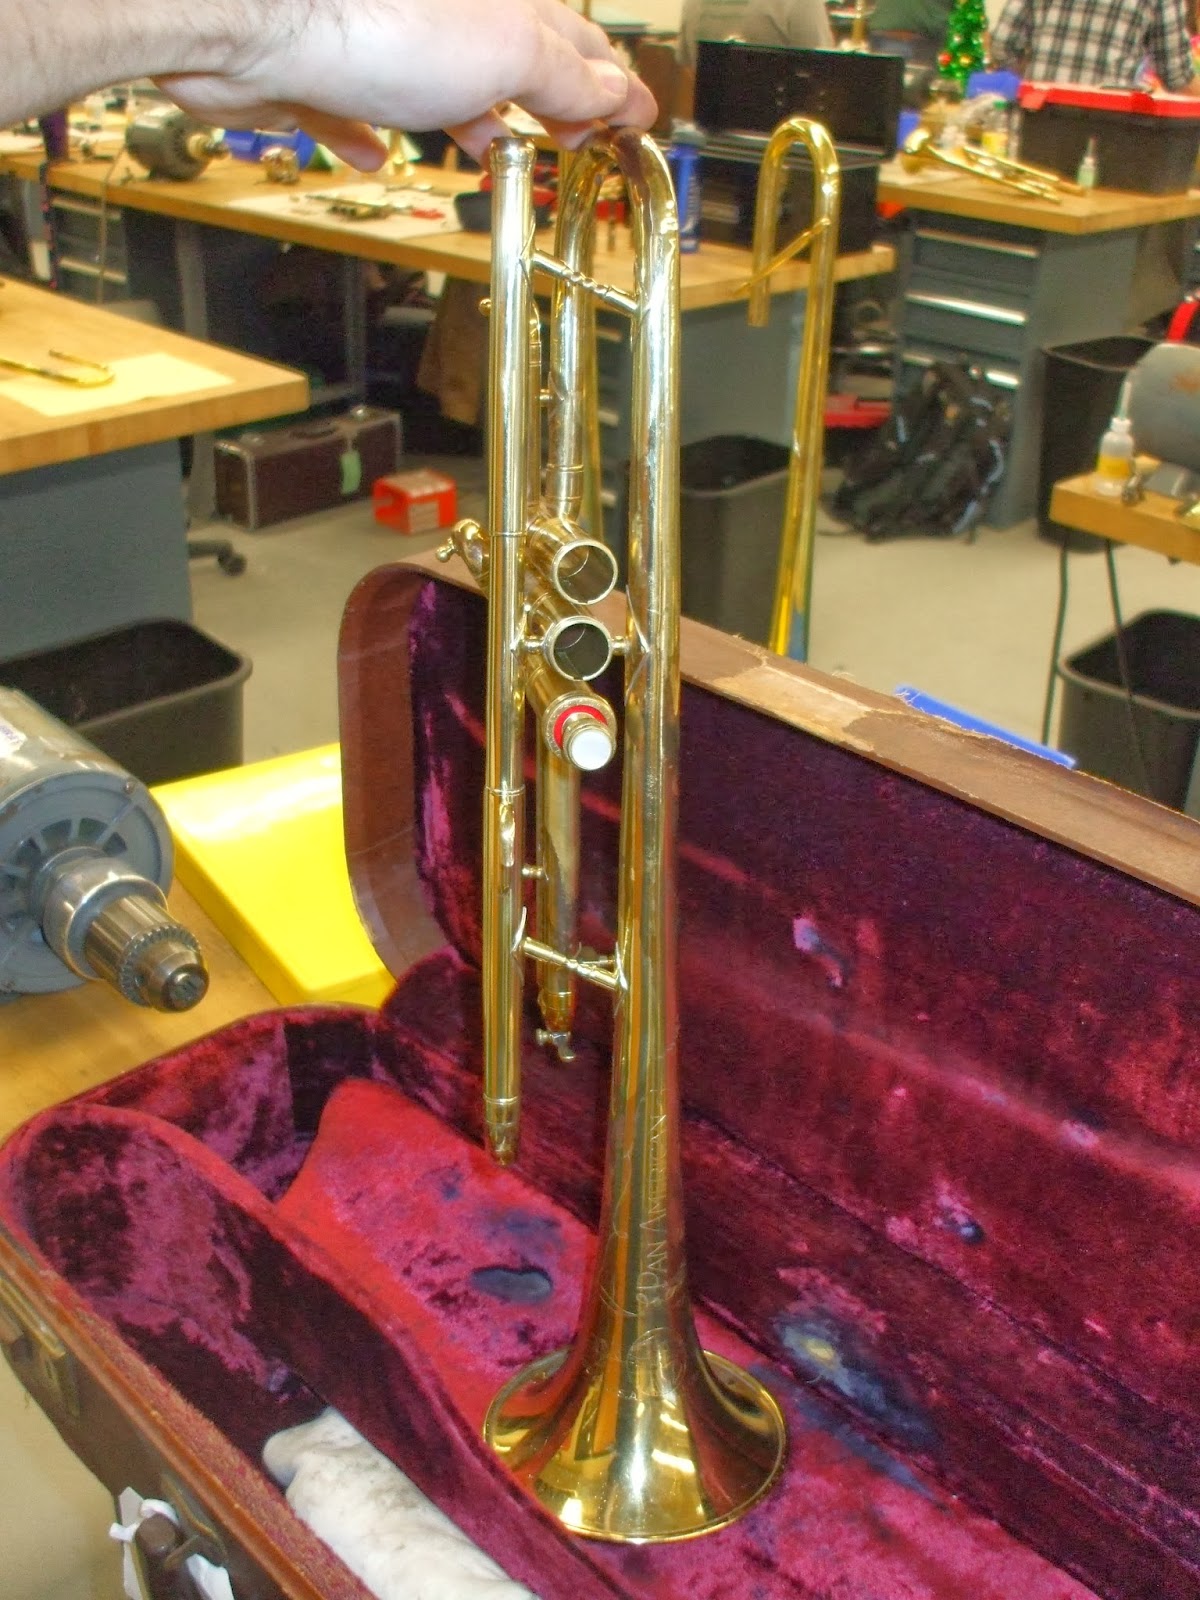
Trombone Hand Slide Tool (lathe project)


This is one of the recent lathe projects that we have just completed. It was a very fun, yet interesting assignment. I say that it was interesting because of how it was presented to us. Most of our normal projects we are given have some type of tool that we can copy information from. This project however was presented with just a name of the tool, a picture of what it looked like, what it's used for, and what types of instruments it would generally be used on. It was our job to research all the sizes of the trombones and find out what the dimensions of the tool were going to need to be set at. All-in-all, once you figured out the sizes, it wasn't that hard. I did however learn that next time I cut steel, I shouldn't use so much cutting oil during the machining process (let's just say I had a big mess to clean up once I was finished).
Project Flute


Ladies and Gentleman, I would like to present to you my project flute. We received our flutes back sometime during the middle of the first semester. Our goal was to learn how to regulate and remove lost motion with correct venting, how to properly install / fix a pad, how to properly fit tenons, and so much more.
When I received this particular flute, it did not work. It even had a piece of tape on the case from the school that said "Does Not Work." After I did my inspection, I could see why it wasn't playing. The D and D# trill key pads were falling out, 30% of the pads needed to be replaced, a spring had fallen off of the A key, all of the keys were improperly vented / regulated, most of the corks needed to be replaced, and the head joint tenon did not fit properly. Let's just say, I had my work cut out for me.
Once I received my training on fixing most of the problems dealing with flutes, I quickly got to work. I am proud to say that after many hard learned lessons that I have been able to get it playing again. I'm still fighting with shimming pads so that they seal perfectly, but other than that, everything else works great. I'll have to make sure and update this post when my pads are sealing at 100%.


Valve Stem Lathe Project


This project began with the stock piece of brass shown in the second photo. With this stock piece, it was our job to copy an already existing valve stem. To complete this task we needed to take very specific measurements, face both ends, drill and tap one side, and turn / use a die on the other side. Most of the steps were pretty straight forward. The hardest step was making sure your measurements were spot on (give or take 0.002"-0.003").
Sunday, December 22, 2013


Completed Mouthpipe Assembly for My Project Trumpet

For each class (woodwind / brasswind) to help familiarize us students with different types of repair, we are given a project instrument that we are required to completely fix and turn in for a grade. This semester we were given trumpets, and the above mouthpipe is from my trumpet project.
The tubing in the lower part of this picture is the original mouthpipe. It contained many dents, dezincification (red rot) spots, and was originally misaligned with the bell. If this were a students horn we could have repaired the issues fairly close to new and would have worked great for the customer, but part of our project was to replace the mouthpipe, so off it came.
The assembled mouthpipe on top actually started with the original receiver, outer main tuning slide tube, and new universal mouthpipe. After removing the original assembly from the trumpet, I was able to pull all the pieces apart and machine buff them to a very new finish that matches the universal pipe almost exactly. Once buffing was completed I was able to size and cut the new pipe to the length of the old one. Now, the tricky part of the project was matching the flare of the smaller end to match that of the old one. I say it was tricky, because on most trumpets you would flare the larger end to match the outer tube, but in my case, I had a venturi style mouthpipe that required annealing the brass to get the smaller end to match the receiver. Once I conquered fitting these parts together though, it was fairly smooth sailing from that point on.
All-in-all a detailed project that I am very glad I was able to work on. I still can't get over how nice the new mouthpipe turned out.
Trombone Bell Buckle Repair


After a little work with the dent roller, hammers, and bell iron, I was able to restore the bell (mostly) back to it's original shape. The finish did become hazy from working it back into shape and there still are scars still left from the buckled areas, but for the most part it ended up looking pretty good.
Saturday, November 2, 2013
Water Key Spring Installing Tool and Piston Valve Porting Tool

The first tool I would like to talk about is the porting tool. This tool was a project that helped introduce the basics of how to silver solder. We first covered the materials of what to/not to use, at what temperatures silver solder will flow and how it affects the types of metal you are soldering, and how to properly set up your soldering jig so that you don't make a mistake in the proper angle of the piece you're soldering. Once the soldering was complete, our task was to file down the excess steel/solder to our intended shape, sand and buff to a polished finish, and to finish off, lacquer the tip with a cellulose based lacquer.
The next tool is the water key spring installing tool. This tool could not have been any easier to make (at least from my point of view). The tool started out as just a small brass tube about 2-3" long. To turn the tube into the horseshoe shape that you see above, we had to anneal the brass to the point where it could be flexed in the middle bringing the ends closer to each other. Once we had our shape, the ends were evened with a bench sander and de-burred with a cratex wheel. To complete the project, I polished the finish up to make the tool more appealing to the eye.
Two pretty simple tools to make, but sure are useful to have at my bench. In the future, I'll try to remember to take some pictures of them being used.
Friday, November 1, 2013
Mouthpiece Repair (silver plated trombone mouthpiece)


This trombone mouthpiece is an old King student line that has been used and much abused. When I first got the mouthpiece, the end of the shank was closer to a triangle more than a circle. The Rim of the cup was pitted, dented, and gouged pretty bad. The plating wasn't silver anymore; it had turned pretty dark, almost black. Last, the inside of the backbone was what looked like a various buffet of food, mold, and built up grim.
The first thing I had to do before I could start making repairs was to first get all the built up grim off the inside and outside. I tried first pickling it in a vinegar solution to see how the grim would break up, and I found that it was on there pretty bad. After the vinegar I went for a stronger pickle that did the job.
After cleaning I went straight to removing the large dents in the end of the shank. I used an arbor in the end of my bench motor with the mouthpiece inserted as far as it could go on the arbor. With my rawhide mallet I was able to fairly quickly hammer the end of the shank back to round.
The last task was to remove those ugly gouges you can see in the first picture up above. To remove the gouges I used a highly polished burnisher, mouthpiece receiver chucked in the lathe (tried bench motor, just too big to fit in the chuck), and some grease as a barrier for friction. After a little bit of work on my part, the rim looks (and should work) much better then before.
With just a little bit of work, this mouthpiece has now returned from its grave to be once again useful to some inspiring student.
The Pokers (tool used for...well...just about anything you can think of)

Oh so simple, yet incredibly meticulous and time consuming to make (at least for someone just starting out). These two pokers were the first project that the class completed. They were used to get everyone familiar with using a bench motor, how to properly use a file/s, what type of safety equipment to wear, how to bevel an edge, how to smooth the ends of a part, and the most important skill - how to pay close attention to detail. This project was completed in our first week of class (back in August) and it was a good starting point to lead into how to use the different tools.
Really great project that I will always remember as, the starting POINT of my career (please forgive the cheesy pun).
Subscribe to:
Comments (Atom)